|
|
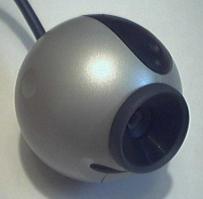 |
Behold, the mighty Quickcam Pro 3000, in all its glory. Note that the stand has been removed, as it is of no use. It screws right out with no trouble at all.
|
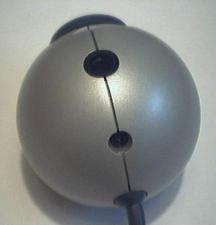 |
To open this sucker, turn it over and remove the screw. You can then pull the two halves apart. This will not be easy since the two halves are still held together by several clips. If you are careful and patient you can do this without breaking the clips (but who cares, since a homemade enclosure is needed later on anyway).
|
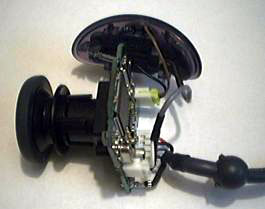 |
This is what you will see after removing the shell. Note the exterior shutter switch and the microphone which used to be on top of the camera, now dangling by two cables attached to the main circuitboard.
|
|
Remove the shutter switch and microphone cables. These cables have ports that snap into their enclosures. They won't just pull straight out. The easiest way to remove them is to get a small screwdriver wedged under them and twist the screwdriver until the snaps move past their locking positions.
|
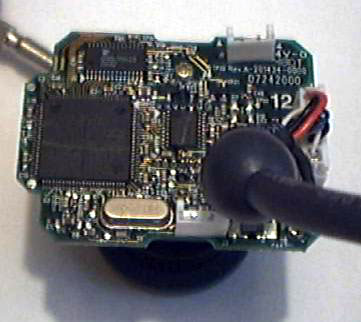 |
Here is the back of the circuit board, fully exposed. The SAA chip is the big square chip on the left. The CXD chip is the small chip right in the middle. The circuitboard mod must be performed in the area between these two chips. If you think things look pretty small in there, you're right. This is not an "ordinary" circuitboard. The components are truly microscopic. Consider your ability to be intimidated before taking on the challenge of this project (then dive right in head-first).
|
